I've been putting off this project for a while, but with the Canadian weather being what it is, it was time to make my girls some ponchos for the carseat. For those wondering why ponchos and not jackets, take a look: video.
Here are a few action shots of the finished ponchos:


Materials:
- 1.25 m of each fabric (fleece is best for winter)
- zipper (I used a 22" double zipper so it can be opened from the top or bottom to make buckling in and out of the car seat easier)
- matching thread
Making the poncho:
For the hood, I just traced a hoodie that fits nicely and added a 1/4" seam allowance all around. Cut out 2 pieces from the inner fabric (cow print) and 2 pieces from the outer fabric (pink plaid).
Sew the inner hood and outer hood separately using a 1/4" seam allowance. Trim the seam down. I used pinking shears, but with fleece regular scissors are fine as well.


Pin the inner and outer hoods together, right sides together. Sew around the edge of the hood, leaving the bottom open so you can flip it around.

Flip and topstich around the outside. I used 1" in, but this is just to keep the hood from shifting, so this is up to you. Then, pin the bottom inner and outer part together. you can baste if you like; I didn't bother.


Now, onto the poncho part! Cut out 2 circles the size you need, one each from inner and outer fabric. The easiest way to do this is fold your fabric in half and then in half again. Decide on the length of your poncho from neck to bottom. I used 23" (I wanted it to be 22" + I needed a seam allowance). Basically, take your length and add 1". Use a tape measure or metre stick and measure 23" (or whatever your measurement) from the corner out so you have a quarter circle shape. Sorry, I forgot to take a pic of this :( but here is a drawing.

I folded it to *just* accommodate the 23" measurement with the rest left over for the hood. Cut out through all of the layers and when you open it up, you'll have a circle.

Fleece is a bit shifty when you have thick layers, so they may not be perfect circles. Lay them one on top of the other RIGHT sides together and trim any pieces fabric that sticks out. It doesn't have to b a perfect circle, but you want the layers to be the same shape. Pin everything together along the outside. Sew a 1/2" seam all along the outer edge. Don't worry about leaving a gap for turning, we will be inserting a slit later. Trim the seam if you feel like it - I didn't :)

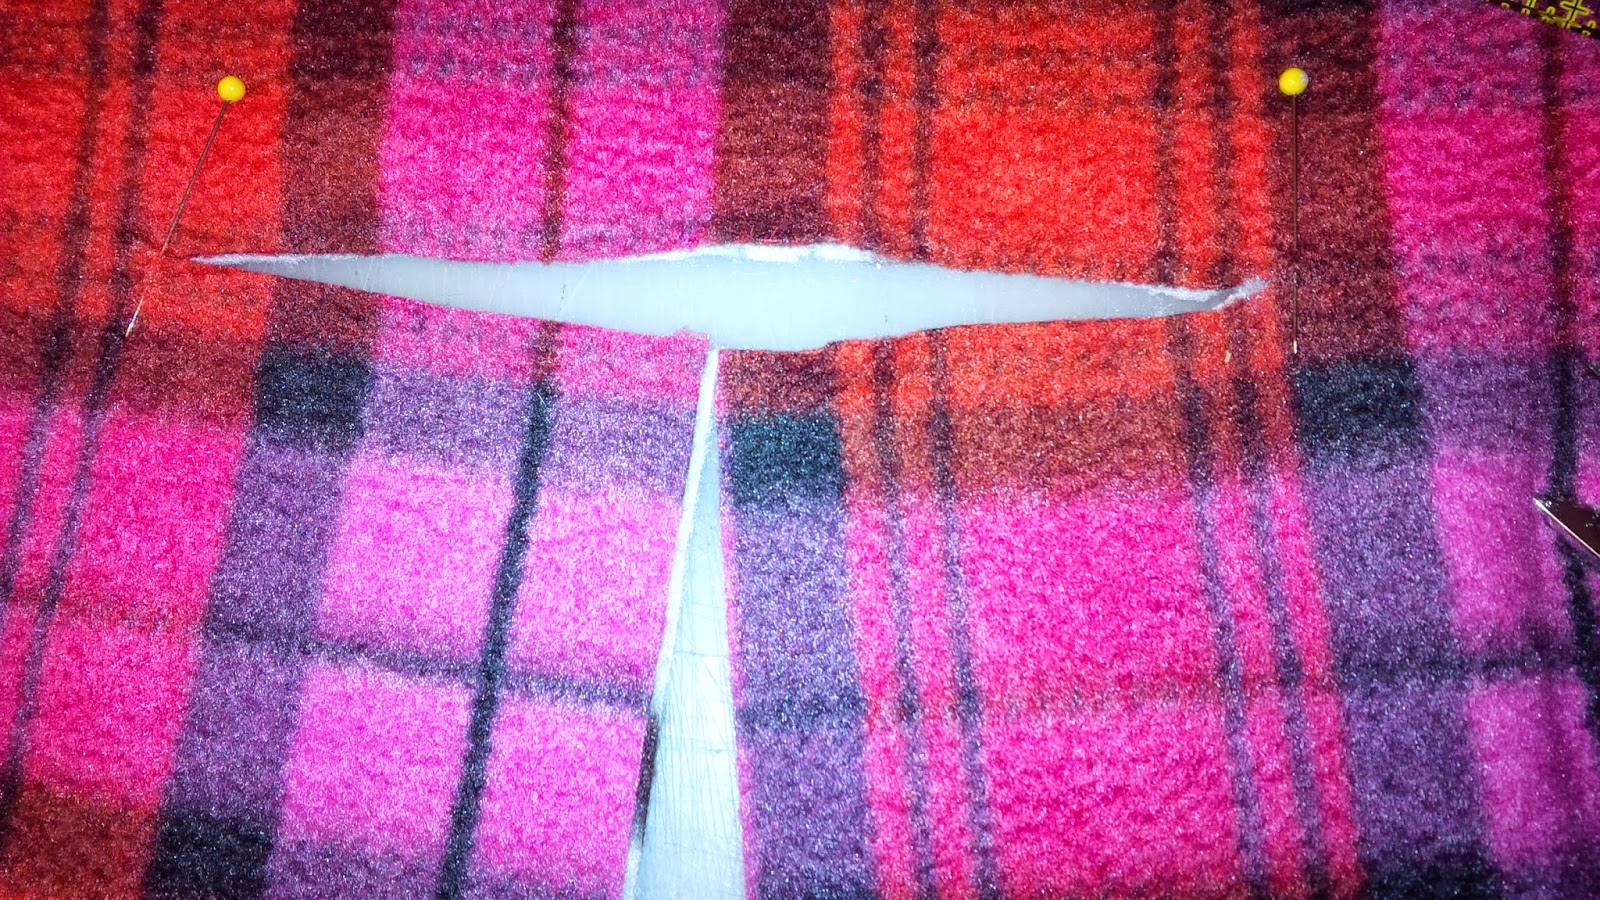
The next drawing shows the cuts for the zipper and hood:

Figure out where you want your zipper - this only matters if you have a pattern that you want facing upright at the front or straight lines you want to keep straight. Measure up from the sewing line to the height of your zipper and mark it. I had a 22" zipper, so that was my measurement + 1/2" for the upper seam allowance (the bottom has already been finished, so it doesn't affect anything.


Fold your hood so that the fronts meet in the middle at centre front. Measure the length of the bottom edge so you know how big to make the hood opening in the body of the poncho. Mine was 7".

Using the zipper line that you created as your centre point, mark the outer edges of your hood measurement. Cut between the points.

Tuck the hood inside and pin it in-between the two poncho layers starting with a 1/2" overhang on either side. Even out the fabric by stretching it a bit if necessary. This will help form the shape of the hood. This part is a bit finicky, so take your time. Sew 1/2" seam to join the hood to the body of the poncho. *Your fabric is still right sides together at this point.*


Flip the whole poncho right side out.
Pin the zipper in-between the centre cut folding the fabric in ~1/2" and pinning in place with a gap where the zipper teeth are. Make sure to tuck in the zipper end so it gets stitched in place. I used a narrow zigzag stitch to stitch through everything catching both layers of fleece.

I also top-stitched 1" along the bottom edge to keep everything together.

And another shot of little Z showing both layers of fabric :)
